Showing posts with label age of sigmar. Show all posts

Monday, 12 February 2024

A-Haunting We Will go... My Nighthaunt Warcry Warband

Good morning/afternoon/evening everyone!

This week, I thought I'd show you my Nighthaunt warband for Warcry. Along with Kill Team, Warcry is one of my favourite games at the moment and, up until recently, I was playing it at least once a fortnight with a group of friends. I've even managed to get The Better Half to give it a go.* Like Kill Team, it's a game that's quick and easy to learn, with no complicated rules to get bogged down in. Warbands are typically less than a dozen miniatures and games take no more than 90 minutes or so to play. The fact that almost every faction in the Age of Sigmar universe has warband rules (some with multiple warbands available) and each warband has a wide choice of models to choose from makes it ideal for a hobby butterfly (like me) or someone who has access to only a few models for any given faction. It's easy to put together a viable warband from a few cheap Ebay purchases. I have had a few warbands planned for years, mostly making use of models that I already had kicking around, and the Nighthaunt was the first one that I got around to assembling as a viable force. I had loads of models to choose from, as I had collected quite a few from the Mortal Realms partwork, so I chose what I considered to be a good mix of lightweight cheap troops, medium-strength troops, and a couple of real heavy hitters. 

Having assembled my force (and given them a name- Lord Balowskyr's Retinue) I used a few test models to create a paint scheme which meant I could get the warband painted and ready in double-quick time. Here it is:

1. Spray with Grey Seer, then a zenithal overspray of Corax White

2. Then an all-over wash of a mix of Nihalikh Oxide/Hexwraith Flame/Athonian Camoshade.

3. Add in some Dark Angels Green into the previous mix and apply this in a pin wash, just around the deepest recesses, and where the different layers of cloak meet. Also apply this mix on the hands, blending it out up the arms.

4. Apply a wetbrush stipple of Grey Seer.

5. Paint all the details: 

Metal: Leadbelcher; Brass: Runelord Brass; Wood: Gorthor Brown; Leather: Mournfang Brown; Copper: Vallejo Copper; Gravestones: Mechanicus Standard Grey followed by Administratum Grey; Bone: Ushabti Bone followed by Screaming Skull. Then wash all of these areas with a mix of Agrax Earthshade, Athonian Camoshade and Nuln Oil.

6. Using a very soft brush, apply a light drybrush of Grey Seer followed by White Scar.

7. Blend Tesseract Glow around where the ghost form meets the base. 

8. Use the mix from step 3 and apply it to the tips of any ghostly flames. 

9. For the bases, I first applied some Stirland Battlemire, whish was drybrushed with Mournfang Brown then XV-88. I then applied Leaf Litter from Javis, stuck down with PVA glue. When the glue was dry, I sprayed the whole model with gloss varnish, then a spray of matt varnish. I then drybrushed Grey Seer around where the model met the base. Once all that was dry, I washed the base with Agrax Earthshade, then added Nuln Oil wet in wet around edges. And here's how they turned out:**

Lord Balowskyr, Knight of Shrouds
Lady Natasha, Guardian of Souls
The Brothers
Gwen, Edwin and Rikard
Nell, Vyvian, Mhikal


And, if you'd prefer that information in an easier format, here it is- my first one-sheet painting guide*** 


Since I started playing with them, they've fared quite well, I've won a few and lost a few. The playing style for them takes some getting used to, as they're fragile on the battlefield, but have some useful abilities, but they're good fun to play with. The next warband I need to do is to finish painting the Skaven one for The Better Half, that I started months ago****. After that, who knows? I've got miniatures for at least half a dozen other warbands, and a Stormcast Eternals one that is already half-painted (which I started for some other long-forgotten project.) To be honest, I'd happily paint up one of each of all the available warbands, there's so much character in each one. Trouble is, I'd also like to do the same with Blood Bowl, Underworlds, Necromunda...

Thanks for reading!

p.s. if you like what I'm doing here, a click on the link below and the donation of the price of a pot of paint would be a wonderful gesture. I'm thinking of adding special stuff to the Ko-fi, like competitions and prize draws, so it'd be a good idea to at least have a look there now and then 😁 


*True to form, she beat me. She beats me at every game we play...

**A gold star if you can identify the inspiration for their names...

***I realise I'm far from the first to do this idea, but I love a good bandwagon...

****She's very patient...


Monday, 5 December 2022

Review: Slaves To Darkness Chosen, Ogroid Theridons and Daemon Prince

 Good morning/afternoon/eveening everyone!


It's not often that I get to play with the latest releases as soon as they become available, but I was commissioned to paint the new Slaves To Darkness army box while they were still on pre-order. As these are brand new models, and will eventually all be released in individual boxes, I thought it would be a good idea to share my thoughts on the new models in the set.

CHOSEN

The core of the new set is a unit of 10 Chosen which, to the uninitiated, are Chaos Warriors plus. The unit of 10 consists of two identical sprues of 5. These sprues include alternate build to give a unit leader, musician and standard bearer (which can be a flag or an icon and includes options for the four chaos powers and chaos undivided.) As far as actually putting them together, it's actually quite a straightforward process, with little to caue any problems. There's a couple of minor issues with the assembly- the lack of locator pins in the shoulders makes attaching the big pauldrons a little finicky and the instuctions don't make it clear that all the pairs of arms are interchangeable. If you follow the instructions to the letter, it gives the impression that ony one pair would fit with each body, but it's not the case. That opens up more options than first meets the eye. The locater pins in the necks are annoying too, meaning that you can only have the heads looking in one of two directions, unless you trim the pegs off. The torsos are assembled in two parts with each leg separate but these leg/torso combinations can only be assembled one way, which limits the options. A couple more torso options would've been nice. One final issue is that the leader model has a tactical rock and, as the sprues are doubled up, it means that you're always going to have a second model standing on a tactical rock (albeit a small one). It's a shame there isn't an alternative leg option for the non-hero. Still, all these are minor criticisms and there are enough options to keep the unit looking fairly individual and any criticisms fall away once you've got the models assembled and ready to paint. When you have them assembled, the first thing you realise is how big they are. These models are easily a match for the biggest Stormcast Eternals and, with their two-handed heavy weapons, they make for seriously imposing models. 


OGROID THERIDONS

The Ogroid Theridons are basically age of Sigmar Mintaurs and what magnificent beasts they are. Truly monstrous creature, these are probably the best minotaur-type creature GW have ever produced. In the set you get three, which can be built as standard troopers or as a leader, musician and standard bearer. There's also weapons variants but, frankly, why would you ever build minotaurs with anything other than axes...? The models are filled with details: trophies, cloth and armour details, but not overloaded, leaving loads of space for the painter to play with. Criticisms? Well, there's  couple of clunky joins, especially where the arms join at the shoulders, that need a litttle playing with, but these are  mostly covered up with the shoulder armour so you could get away without having to do anything with them. Other than that (and the usual criticisms of GW's instructions being a little vague in places) I really can't find much to complain about. 


DAEMON PRINCE

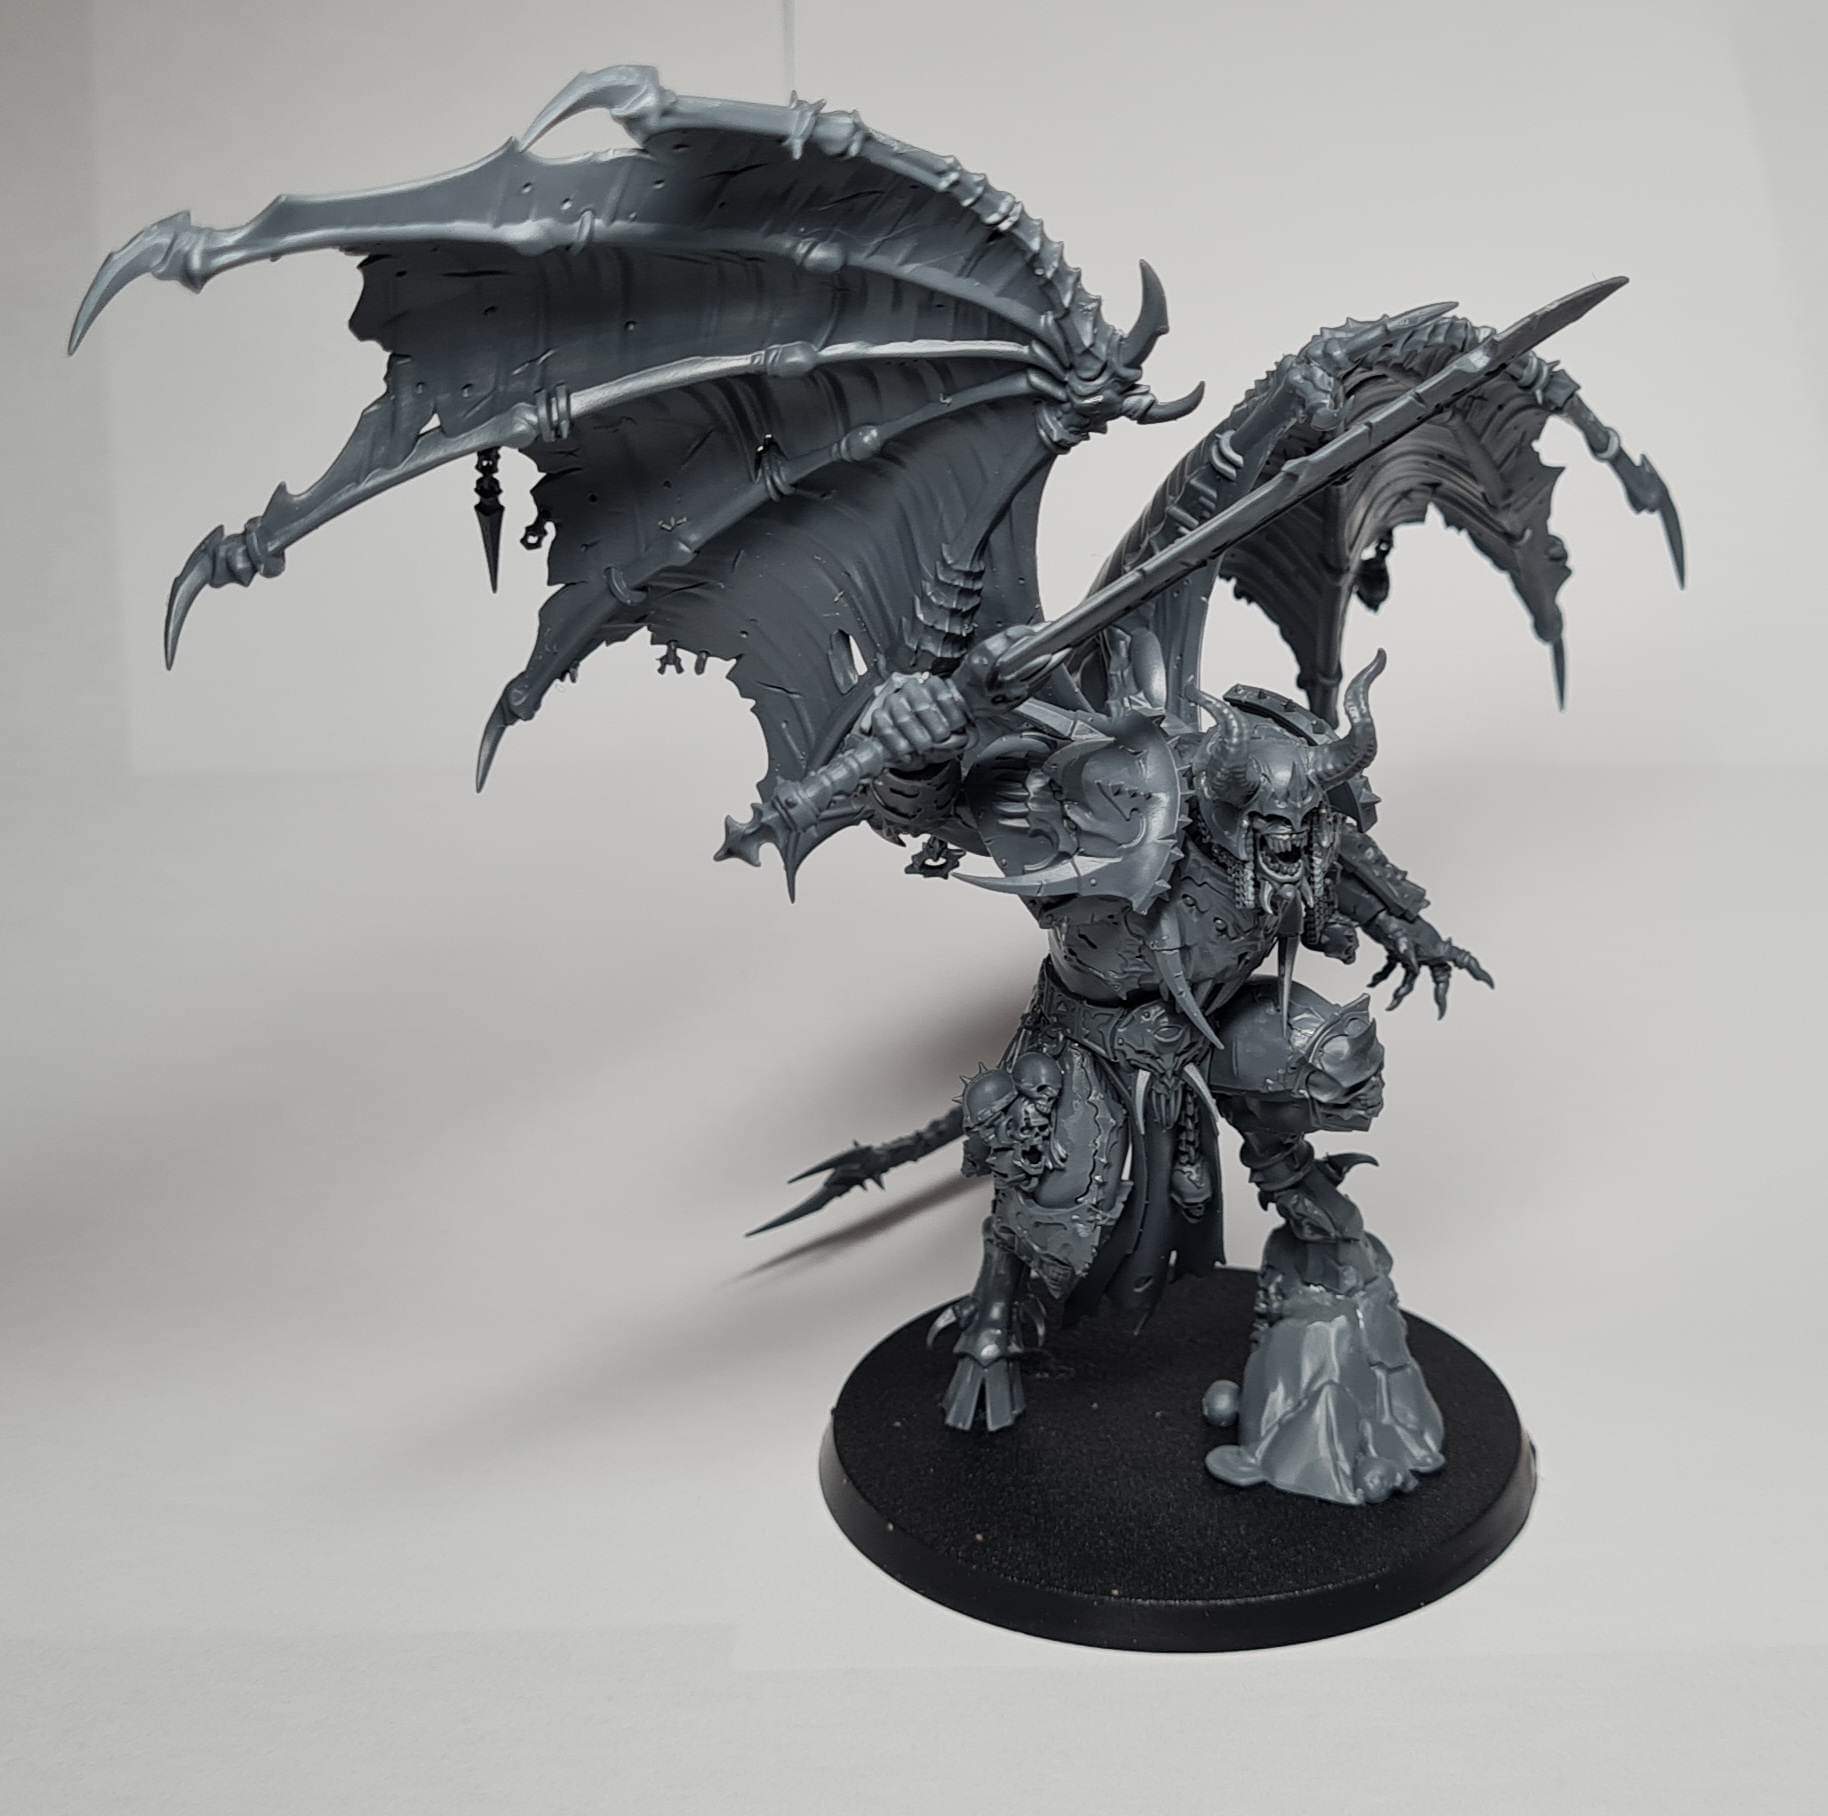
The centerpiece of this set is the all-new Daemon Prince, and what an absolute monster he is! This model comes on one and a half sprues and gives options for weapons, wings, different heads and iconography for the four powers and Chaos undivided, and parts to make a 40k variant. So far, so good, and I only have a couple of minor criticisms to throw into the mix, and none of them are to do with the sculpt itself. There's the usual couple of points where it would have been useful to have locator pegs and a couple of places whre an alternate view in the instuctions would have halped make the build easier but, mostly, it went together without a hitch. My main criticism is of the sprues themselves. As I said, the model comes on one big sprue and one half sprue and, once built, you are left with a lot of leftover bits. I'm not complaining about having more options available, that's a really good thing but I think they've missed a trick by not having the 40k bits on a separate sprue. If you look at my pictures below, of the bits left on the sprues after assembly, you an see that, had they kept the wings and trophy rack to one sprue, and left off the 40k elements, they could have added more options for the AoS version of the kit on the wings sprue, and then had loads of extra options on the 40k sprue. Then when they eventually release the model individually, they could still have it as a one and a half sprue box, but have separate versions for 40k and AoS. Still, these criticisms don't affect the look of the final miniature once it's assembled. It's a stunning kit, loaded (but not overloaded) with detail and I suspect it's going to be a popular choice with Golden Demon entrants. One last little thing: I really like the way that you don't need to sub-assemble this monster for painting. There's no bits that you won't be able to get to woth a brush once it's assemble, meaning there's no need to have any headless, wingless Daemon Princes running around on tabletops if you want to play before you get the chance to paint.


So, there you have it, my thoughts on these three new kits. The Citadel designers have knocked these way out of the park and chaos generals are not going to be disappointed with them. There's loads of scope for the painter to play with them and I can see there being some incredible paint jobs on these in the future. Can't wait to get them painted myself, and I'll be sharing some stage-by-stage tutorials of them once I've got them done.

Thanks for reading!

Stu


Monday, 24 October 2022

Shiver Me Whatsits! It's An Ogre Pirate

Good morning/afternoon/evening everyone!

This week, I'd like to talk to you about this chap:

He is Gorlok Blackpowder and he is the leader of Blackpowder's Buccaneer's, a warband for the hugely successful Warhammer Underworlds game. I painted him for a recent competition held in my local GW store. The competition was held to launch the newly updated Citadel Contrast and Shade paint ranges and had to be something bought especially for the competition and had to make extensive use of the new paints. This would not be an issue for me as, since the launch of the Contrast range, I don't think I've painted a single miniature without using them in some way or another.* I've found them to be incredibly versatile, useful as glazes, shading washes, additions to base and layer paints for colour variations...I've even used them for their advertised purpose, on occasion!

As for painting this particular miniature, I was going to go through each stage, step-by step and describe each paint used and when, but I have decided against doing this, as I never originally planned to write an article about the painting of this miniature, didn't take step-by-step photos so I don't have anything with which to illustrate such an article. Without pictures there's not a lot of point. So what I've decided to do is instead focus on a particular technique that was used on the majority of this miniature. See, what I wanted to go for when I started painting was texture. I wanted his equipment to look old and weathered, without the smooth highlights that are my usual style. I still wanted it to be clean and bright, and based on the 'eavy Metal style, but I wanted there to be a certain amount of wear and tear and worn-in-ness to his clothing. As it was, I couldn't take it as far as I wanted to as I ran out of time to get him finished by the deadline for the competition but I was pretty happy with the way it turned out, particularly the leather of the coat, and this is what I'm going to talk about in this article.

So, for all the leather areas (the red of the coat, the black coat lining, the boots and the shoulder bag) I utilised a loose style, stippling and flicking the brush across the surface to give loose, random highlights, imitating a worn, battered effect. It's a really good idea to look at reference with things like this**, as it can show you things that you wouldn't necessarily have thought about. For instance, with old leather, where it wears away from use it naturally forms its own folds over time and, if not treated, those folds will crack and, being more exposed, will naturally get scratched and their colour will fade. when the colour fades and the surface cracks, the natural tan colour of the leather will show through and this is something that you should bear in mind when painting. The highlights of the colour will be the lighter tone of the base (eg. for black, it will be grey) but the areas of wear will be light brown. If you look at these pictures below, hopefully you will see what I mean. 


There's a clear difference between the grey highlights for the black, and the tan areas to show wear. I did the same on the boots but, obviously with the boots being brown, the difference is not as marked, although the effect is still there. As for how it was achieved well there's no great magic to it. I started each area with a very thin basecoat, using Contrast paints, sometimes mixed with Shades and then applied a deeper shade, wet-in-wet, to make it look patchy and uneven. I then used layers of opaque paints Bases and Layers, to build up the highlights. As I mentioned, these were not blended at all and were applied in a mixture of stippling (to build up the texture) and flicking across the surface (to simulate scratches and random wear.) Finally a highlight of light tan (I used Morghast Bone on all the leather areas) was applied more carefully to show the cracks and splits where the inner leather is showing through. I also added careful light drybrushing of this colour (used sparingly) to show where the top surface had been scuffed off. I then followed all this up with glazes close to the base colour, applied all over at first. These were very thin, applied carefully, the idea being to just smooth the transitions a little, but not too much. A stronger, more saturated glaze was then applied in the deepest recess (again, wet-in-wet, to allow a certain amount of bleeding into the thin all-over glaze). In the pictures below, you can see the difference between the red pre- and post-glaze (apologies for the discrepancies in the photos, they were taken while working on the miniature in less-than-ideal conditions for photography. Hopefully you'll get the idea.) 


As I said, I had then planned to go back and re-establish some of the cracks in the light tan, but I ran out of time. Maybe next time.

So, here's the end result.

In the competition he got second place, which I was chuffed with. In terms of the actual painting, I wanted to experiment with textures and work on my NMM and, in that regard, the project was a success. As I said, I'd love to have had the time to do more work on the wear and tear on the leather areas, and I'm still not 100% satisfied with the NMM, but I'm getting there. I had a lot of fun with this miniature. It's got bags of character, and one of those models that is a dream for the painter, with loads of areas of different texture to play with. At some point, I'm going to have to get round to doing the rest of his gang...

For those who are interested, here's the colours used:

BOOTS: Base: Garaghak's Sewer; Shade: Agrax Earhshade/Nuln Oil; Highlights: Doombull Brown, Tuskgor Fur, Jokaero Orange, Morghast Bone; Glaze: Agrax Earthshade/Athonian Camoshade; Recess Glaze: Garaghak's Sewer

JACKET: Base: Flesh Tearers Red; Shade: Nuln Oil; Highlights: Mephiston Red, Evil Sunz Scarlet, Morghast Bone; Glaze: Bloodletter***; Recess Glaze: Flesh Tearers Red

JACKET LINING: Base: Basilicanum Grey; Shade: Black Templar; Highlights: Eshin Grey, Mechanicus Standard Grey, Dawnstone, Morghast Bone; Glaze: Nuln Oil; Recess Glaze: Black Templar

SHOULDER BAG: Base: Snakebite Leather; Shade: Garaghak's Sewer; Highlights: Flayed One flesh, Morghast Bone; Glaze: Seraphim Sepia; Recess Glaze: Agrax Earthshade

That's all for now, see you next week, where I'll be talking about some teeny-tiny little cars... 

Thanks for reading!

Stuart


*plus, I hardly needed an excuse to buy more paints, or  new miniature specifically for the competition... 

**And don't restrict yourself to looking at, for example, old coats as reference for old coats. Think about other things that might have old leather on them. I found some great reference looking at old sofas and writing desks...

***it's a real shame that GW have discontinued the glazes. I know they're easy to replicate but having them ready-mixed in the perfect colours, density and opacity was really useful, and I'll miss them once I've used them up.

Wednesday, 16 May 2018

The Road To Coventry...epilogue

So the dust has settled on another Warhammer Fest and, this year, I had to come away empty-handed. Still, lesson learned. Next year I will be better-prepared and (hoopefully) Real Life will be a bit more forgiving and I won't have to leave things to the last minute.
Looking at my work in the cold light of a new day, I'm not entirely displeased with what I did. It wasn't awful but it wasn't ready to be called finished, either. The gold needed tidying up, the silver on the loincloth wasn't finished properly, I needed more contrast on the armour to make the highlights pop a bit, the basing was an afterthought, the list goes on. The idea was a good one but I simply didn't have the time to finish it to the required standard. And what a standard! Hats off to those who won this year (and not just in my category) -the quality of work was exceptional across the competition. At my best, I'd have struggled to place. There's no doubt about it I'm going to have to up my game if I'm going to be able to compete going forward. There really is no room for half-measures.
So, heartfelt congratulations to the winners. I'm looking forward to seeing the official photos of the winning works, as there's really no chance to properly take them in at the event itself.
As for the rest of the event...Well, I'm sure others will have done much more detailed write-ups of what went on. I'd planned to take lots of photos and do a full report but that went out of the window as soon as I got there and did my usual trick of wandering around, aimlessly looking at whatever caught my attention, having the occasional pint of cider, and chatting to whomever I could.
It was great to catch up with a few people I hadn't chatted to for years, engage in real-life with people I'd only previously spoken to online (I finally got to meet Dave Taylor from Eavier Metal, who I've been working with, on their 20 Year painting competition, for years, but never met in person before) and get introduced to some completely new faces.
As far as new products goes, the impending new edition of Age of Sigmar looks very interesting indeed but, I have to admit, it's the new version of Adeptus Titanicus that has me foaming at the mouth ever so slightly. If I get my new playroom it's going to be pretty high on my "must-buy" list. Those new Titan models are bloody superb.
As usual, there wasn't enough time to see everything and everyone. I never did make it back to the gaming hall to look closer at the videogames, as I'd promised myself I would, and I missed out on picking up that looks-like-huge-fun Gretchin racing game that I wanted to go go back and pick up.
Maybe next year I'll go for the whole weekend...

Anyway, I'll sign off for now with some decent pictures of my Stormcast. As I said, lessons learnt.
Here's to next year! I'm now taking some time out to sort out my dad's stuff and try and get a new work space organised.


Oh yeah- one final thing.
I will be going back to Coventry next year. I may go for the whole weekend. What I am damn sure about is that we won't be staying at the bloody Brittania Royal Court Hotel (link included so you don't make the same mistake we did- you have been warned...) Horrible bed (which triggered my bad back), average food at best, catastrophic breakfast service and a postage-stamp-sized tv in the room that didn't work half the time. Oh and, in this day and age, having to pay for wi-fi (£7 per day PER DEVICE) is a f***ing joke. The only thing I could recommend about the place was the spa facilities. And you had to pay extra for those, too...

Friday, 11 May 2018

The Road To Coventry...part five

So it's done, and by the skin of my teeth.
Again.
Next time I swear I'm going to be better prepared.
Sorry I haven't posted any more WIP stages but I simply haven't had the time. It was touch and go as to whether I was going to finish in time anyway but here it is, done and ready to go. I'll get some better pictures of it as soon as I can, too.

So it's off to Coventry and Warhammer Fest we go and let's see what happens.
Am I happy with it? Weeell...no, of course not. All I can see are the bits that I'd re-do if only I had the time but, frankly, I'd probably do that even if I had another six months to finish it off. There's bits that don't look smooth to me, bits that look unfinished, extra bits I wanted to do but didn't...self-criticism is a never-ending path.
But, it'll do. It'll be a miracle if it does anything more than place in the finals but I said that last time and came home with a bronze trophy so you never know. What really matters is the taking part. I genuinely believe that. Going to the Fest, meeting great people, seeing cool stuff and taking part in the competition- it's impossible to overstate how much I'm looking forward to it. Someone on Facebook said, yesterday, that he feels like he used to as a little kid before Christmas. Yeah, I get that.
Plus, it's the first weekend away me and the better half have had since last year's Warhammer Fest, so there's that...

Oh, a final word for the organisers of Golden Demon, if any of them happen to be reading this:

Next year, could we possibly have a Masters Category miniature with a face? Painting the eyes, inside the eyesockets of the helmet, on the bugger was a real pain in the arse and I'd rather not have to do that again...

See y'all at Warhammer Fest on Sunday!

Saturday, 5 May 2018

The Road To Coventry...part four

Well, things have gone to hell in a handcart since my last post. My 86-year-old dad, who has been in and out of hospital for the last couple of years, finally (and rather abruptly) decided that he wanted to move into a care home. While this is very good news for him (and, without putting too fine a point on it, for me also) it has thrown things into turmoil over the last couple of weeks. Emails, phone calls, visits, care workers, looking round homes and a dozen other things have eaten into my time so much that I've had to call a halt to any commission work I have going on, and it's severely curtailed my free time that can be used on my Golden Demon entry. Basically it's going to be touch and go as to whether I get it finished in time. Thankfully, my brother has come over from the other end of the country to help with dad and lighten my load as much as possible, so there's light at the end of the tunnel...
Still, time's a-marching on.
Here's where I'm at now.

The armour is mostly done. I've applied the basic shading and highlighting. The highlights were very thinned Blue Horror, applied in multiple layers to build up the opacity and give it that sheen. The shade was a mix of various blue and red washes, mixed with a little black, again applied in thin layers to build up the depth of shade. I will finish off the deepest shadows and spot highlights once I have the model put together, so that I know where to place them.
So, there we are. The race is on to get this ready in time for next Saturday when we leave for the wilds of the Midlands.
Eep!